Most Memorable Dancing Photos

Thanks to our great friends who brought cameras, we now have a series of funny dancing photos. The official photographer was long gone, but in some ways these are way better! They seem to catch people at such funny (and sometimes awkward) moments.
Emma loved the dancing...and getting carried around by Dave while trying to blow bubbles!

I think Dudar has the best expression here! Clearly posing for the camera!

"Dancing!?!?! What!?!?!"
Conga Line thanks to Nathan Trainor.
Obviously this picture was taken later on in the night.
Britt and Byron...they must have been playing Byron's favourite song.Dave and Scott busting out their moves.
My favourite one. So much is going on!
\It was taken during the last slow dance at about 1am.

My Cousins

I wasn't entirely sure what to title this one, but I wanted to write a bit about my cousins who helped out during the wedding. They were great! From helping set up the venues to handing out the programs to videotaping special moments, they helped with lots of the little jobs that were really important and helped things to run smoothly.

Kayla, Sean, and Troy handing out programs at the church


Lisa and Chantal did the scripture readings at the church ceremony.


Hanging out at the church

Lisa and Chantal helping with setting up the cupcakes at the reception

The Cousins Table


Wedding Projects #8: Guestbook

My mom and cousins, Lisa and Chantal, worked on this project. I had some ideas of what I wanted, but ultimately got too busy and just left it in my mom's very capable hands. In the end, it was nice to have one less project to have to work on.

Instead of a guest "book" we opted for guest "notes." My mom is really into scrapbooking, and so had lots of paper to use. She used white and purple scrapbook paper. To decorate the pieces of paper, she used the cricket, which is a paper cutting machine which can cut intricate patterns into the paper. After coming up with some templates with pictures of wine glasses, flowers, and bells punched into the paper, Lisa and Chantal went to work creating 150 of them!

Figuring out the right designs

Figuring out how to use the cricket


The bowl we used to place the notes inside was a glass bowl that my parents received for their wedding 25 years ago. We had an assortment of purple, silver, and white pens.


We made sure to have enough notes for both the afternoon reception and the evening reception. I can't remember who, but someone was put in charge of making sure everything got transported from one venue to the second venue. This was a very important job!

Wedding Planning Tips

I found this really great article on the Toronto Star. For the most part, I agree with everything. Very good advice!

The Star Logo

10 things I wish I would have done differently at my own wedding

January 19, 2011

Jennifer Wilson

White dresses, sky-high cakes and serious vows — the wedding day is steeped in tradition and other people’s expectations. It’s so easy to get wrapped up in the fairytale that it’s easy to forget the practical side of things.

Even though my marriage didn’t last, by all standards, my wedding day went off very smoothly: the guests enjoyed themselves, the photographs were lovely and the only tears were of happiness.

But, there were still areas of improvement for my own enjoyment of the big day. Herewith, 10 things I wish I would have done differently (not counting the groom).

1. Involve your partner, family and friends – as much as they want to be involved. While finding the perfect purple calla lily may be a mission for you, your betrothed and your best friend may not find it nearly as fascinating. Let your loved ones care about the details that are important to them.

2. Delegate. By the same token as not involving your friends and family in every single detail of your planning, it’s OK to let yourself off the hook. Whether you’re not a flower person, or your only concern about the rehearsal dinner is that you get a glass of wine, letting someone else handle those details can relieve your stress, and let you focus on the big picture, like getting enough sleep and finding the perfect pair of shoes.

3. Number the RSVP cards. All it takes is a few cards without a return address to leave your guest list a little muddled. I already had a numbered list of guests and their addresses, and had I simply written the corresponding number on the backs of their reply cards, I would have been able to track down the blanks without calling my mother.

4. Letting go of the little things. My friends still tell the story of one ridiculous afternoon spent tying tiny purple bows on 100 bottles of bubbles. Then sealing each perfectly tied bow with a dab of hot glue. I wish I was kidding. There’s not a single photo of those bottles. I really could have better used that time relaxing at the spa!

5. Dig in my heels on the things that matter. I wanted a day that reflected my partner and I, so we pushed ahead with ideas that weren’t always greeted with enthusiasm by our families, such as all of the groomsmen wearing Chuck Taylor sneakers or having a “bridesman” and “man of honour”. Where I didn’t stand up was in our music, and while a few favourites made it into the playlist, the carefully curated dance selections, the product of hours of debating, never got played. I also grew my hair out for the day, something I still regret. The day should be about you – not about what you think a wedding ought to be.

6. Plan for things to go wrong. Whether it’s for a wedding or a renovation, all budgets should include a contingency fund. That way, when you wake up on the big day and realize you haven’t remembered to pick up buds for the flower girl, you’re not busting your budget.

7. Don’t sweat it when they do go wrong. Planning a wedding is a lot like herding cats. You’re trying to perfectly choreograph the arrival of goods, people and events. Even the best planners can’t control the weather or the fact that your cousin is running late.

8. Eat. The day goes quickly, and keeping fed and hydrated proved to be a challenge. I planned ahead — having friends deliver breakfast, ordering in lunch, but I still didn’t get more than two bites of my buffet dinner. If I ever do it again, I’ll have a bridesmaid stow a protein bar in her bouquet.

9. Get your dress cleaned. Immediately. Otherwise, two years later, you will be explaining to a very confused drycleaner that the purple icing stain is seriously set in.

10. Enjoy yourself! Yes, the wedding day is steeped in tradition, and making a lifelong commitment to someone is not to be taken lightly. But you have to just learn to let go. Otherwise, you’ll feel like an observer at your own wedding, and be reliving key moments through other people’s stories.

Wedding Project #7: Paper Pom Poms

This was a really fun project. All it took was tissue paper, fishing line, and a pair of scissors. It probably cost about $25 because I bought a LOT of tissue paper (from the dollar store). I found it on the Martha Stewart website. I copied it out below:

How to Make the Pom-Poms

You'll need tissue paper and 24-gauge white cloth-covered floral wire.

Hanging Pom-Poms
1. Stack eight 20-by-30-inch sheets of tissue. Make 1 1/2-inchwide accordion folds, creasing with each fold.

2. Fold an 18-inch piece of floral wire in half, and slip over center of folded tissue; twist. With scissors, trim ends of tissue into rounded or pointy shapes.

3. Separate layers, pulling away from center one at a time.

4. Tie a length of monofilament to floral wire for hanging.


Read more at Marthastewartweddings.com: Pom-Poms and Luminarias How-To

I would like to thank Hannah, Vicki, Sarah, Kate, and Britt for spending an evening making about 50 of these pom-poms!

At the reception venue, we were not allowed to put any nails into the walls, but luckily for us, they were already there! Here are some pictures of how they turned out!


In this picture, you can see the pom poms along the wall behind us
as well as hanging from the ceiling.

Wedding Projects #6: Head Table Decorations

In my wedding budget, the Head Table Reception decorations was subsumed under Hall Decorations ($700 total). Unfortunately, the linens ended up costing $505 so, really that left me with just under $200 total.

My original inspiration came from my friend Kristin's wedding in June (6 weeks prior to mine). She used a series of draped linens, icicle lights, sheer linens (tule fabric), and plants. It looked so pretty! These are some of the images which inspired me (very similar to Kristin's wedding):


In order to create this look for cheap, I borrowed white icicle lights (from Kristin!), and bought some white tule fabric ($20). I also bought some table clips from the dollar store which held the tule and lights in place. I bought these on a whim and wasn't sure how useful they would be, but they ended up being a life-saver. Not sure how we would have done it without them!

For the rest of the decorations, I placed the girls' bouquets on the table during dinner. In fact, my bridesmaids were so great that within 1 minute of walking into the reception hall, my bouquet was taken from me and placed on the table. They really set things up nicely! I also added some "poofs" or "pom poms" which were made out of tissue paper (See Project #7) AND some of the smaller centerpiece vases. A last detail which I added was to place two plants (Boston Furns) on the stage behind the table. They were not very visible, but added a bit of green. My dad found these plants for $10 each and we used them at the reception as well as at the church.

In the end there was a lot on the table! Maybe a bit busy looking, but I really liked how it looked.

Wedding Projects #5: Cupcake Tier

Credit for this project is due to my brilliant friend Gill. She worked in a bakery for a few years and has extensive experience buying and making cake tiers. When I told her about the cupcakes I wanted to serve, she suggested I make a cupcake tier. I looked online and for the size I wanted it would have cost about $50. So, instead of spending this money on something I would never use again, I decided to make one with the help of my expert Gill.

Online version. I really didn't like how it looks like a piece of cardboard.
Mine ended up much nicer!

I checked out two places to buy cake trays and styrofoam. The best place (cheapest) was Bulk Barn. We spent a total of $20 (saving $30 + shipping fees).

When it came to making the tier, Gill and I had to center all the tiers and create 4" styrofoam circles to place between the different levels. We covered it all with silver ribbon so it all matched.

When it was all done, it held about 80 cupcakes!


The final project stood up really well! As silver was one of the wedding theme colours, it fit perfectly.


There was a bit of spillover of the cupcakes onto the table.
My mom made all 160 cupcakes.
We had lots of leftovers.

Wedding Projects #4: Invitations and other stationary

The budget for all wedding stationary was $300. On the list to make was invitations (including stamps), thank-you notes, ceremony programs, and reception programs. We did everything DIY as our budget was really tight. Here is what ended up working for us.

1. Invitations
We opted for a plain white invite that I found at Michaels (roughly $40 for a pack of 50 x 2 = total $85). This gave us plenty of extras as we only made about 80 total. We printed them from home on my super amazing lazer printer. I had to hand feed every sheet, but the savings made it totally worth it! We decorated the invite with a small ribbon which ended up being the wedding theme colour (dark purple). I found the ribbon at a store called Mokuba in Toronto. An entire store just dedicated to ribbon! It's amazing! I played around with different ribbon designs for several weeks and finally Dave and I figured out a way which was simple, not overly time consuming, and looked nice. (Dave actually came up with the idea of making it look like a banner, which was great!)


When it came to putting it all together, I recruited friends and family members to come help me. I ended up having about 8 helpers and we finished them all (including ribbon making, printing, addressing, stamping) in about 1 hour. What a crew!

Finally, we cut some costs by skipping Save-the-date cards (we did it the old-fashion way...by verbally TELLING people the date), and by having an online RSVP instead of a mail-in card. Also, we hand delivered as many as we possibly could (to save on postage).

Cost = $150 (approx. $2-2.50/invite)

2. Thank-you notes
I watched for sales. They were not anything special, but they looked nice and cost $40 for 100 cards.

3. Programs (Ceremony and Reception)
Dave and I designed the programs ourselves. We also had our friend Ben create a design for them which looked great! We upgraded to a nice paper as we had a bit of extra room in the budget. Total cost of these were about $150 (including 120 church programs and 100 reception programs).

Ceremony Programs


Reception Programs

This brought us to a combined total of $340! We ended up a bit over budget, but were able to cut some corners in some other areas so it all worked out in the end.
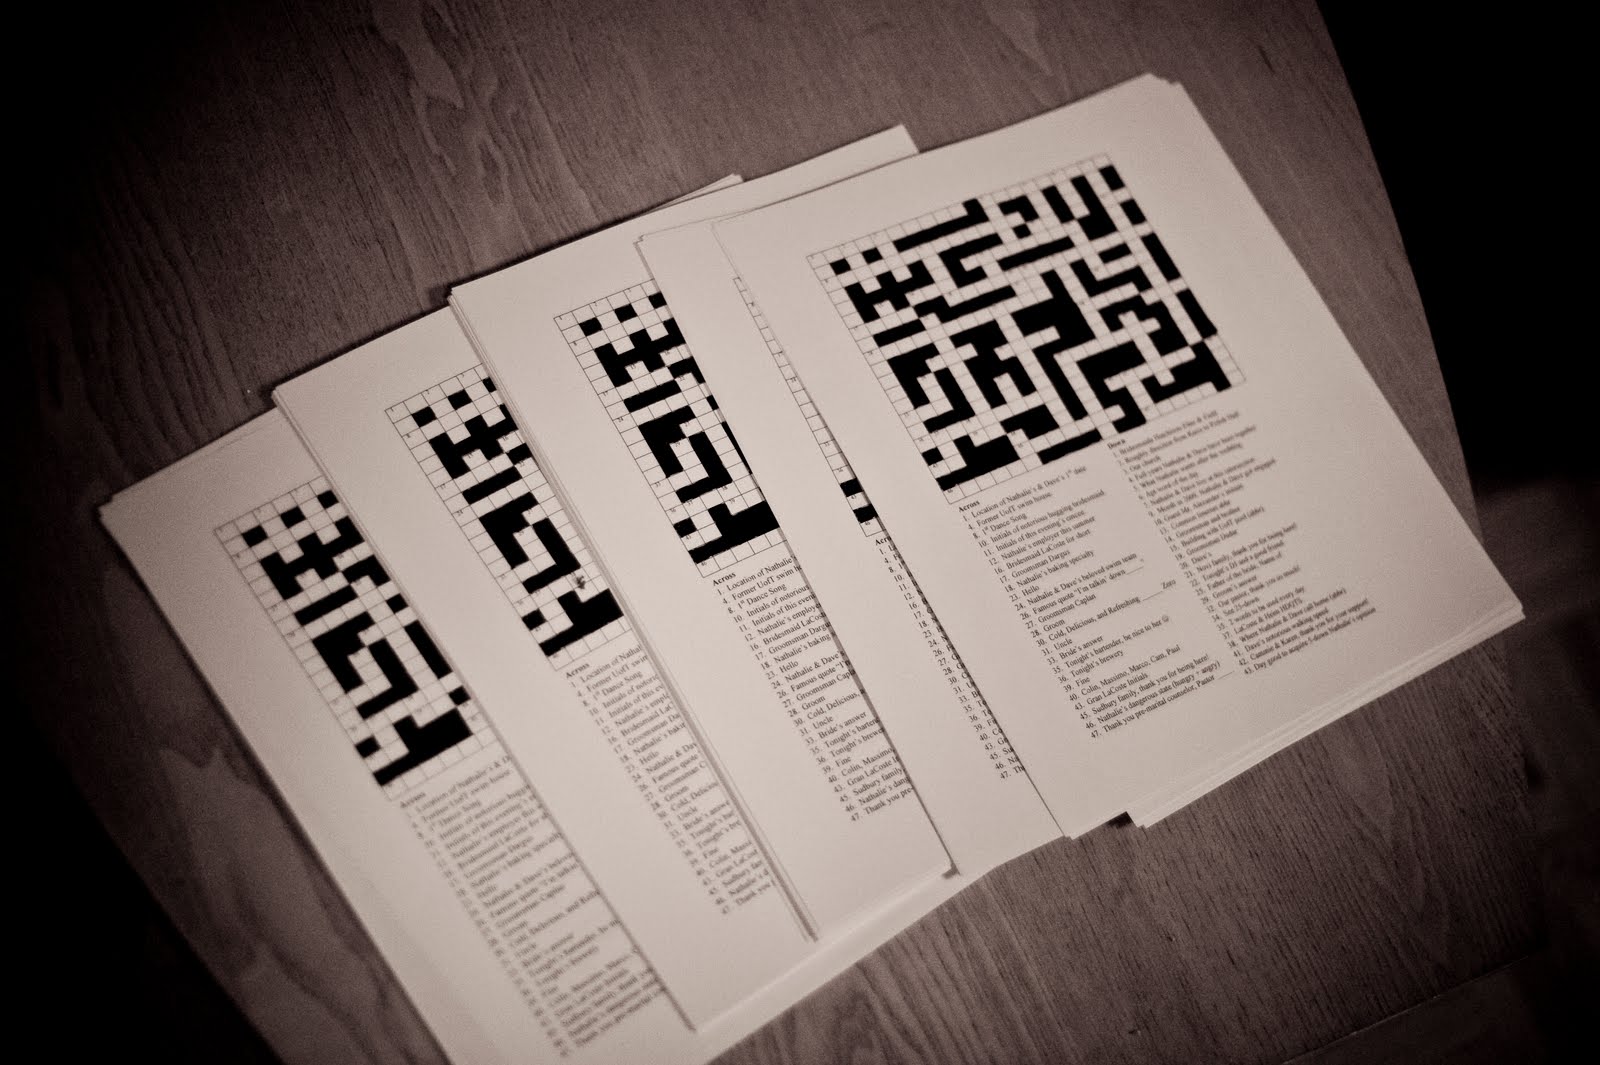
Even now it surprises me how quickly things add up!


PS: We ended up being a bit under budget (overall) so we "splurged" and spent $6 on a homemade crossword puzzle created by Dave. We put these out during the reception for the guests.

Wedding Projects #3: Reception Centrepieces

This project was really fun and super easy. I wanted something which was simple yet elegant. I also really wanted to use real flowers instead of fake ones. With centrepieces starting around $30 each, I decided that DIY was the way to go! The vases were given to me as a shower gift from Karen Field (my Bridesmaid Veronica's mom) who found a great deal at Bowring. They came in three different heights which was actually pretty fun! I spent about $15 on a variety of both fake and real flowers and experimented several times. Ultimately, I found these beautiful mokara orchids in dark purple which lasted in the water for several days. Experimenting was absolutely necessary because I wanted to set them up the day before and some flowers don't stay together in water for long periods of time. The candles were not too expensive, my mom picked them up from Michaels (20 for about $20) and I bought some crystal beads from the dollar store ($5).


My home experiments.
On set up day, I put my mother-in-law Karen in charge of picking them up from the florist (approx. $110 worth) and putting them together at the hall. She did an excellent job! Originally, I was thinking we would make 12 or so, but we ended up having enough for 15 vases, so we used the extra three to decorate the head table.

Final costs: $150 for 15 vases = $10 per vase = worth it!
Copyright @ LaCoste & Ling Wedding | Floral Day theme designed by SimplyWP | Bloggerized by GirlyBlogger